The drop zone rules can be tricky, so let’s go through them step by step…
What is a drop zone?
First things first. Drop zones are a “special relief area that may be provided by the committee”. They are outlined in the Committee Procedures of the Official Guide to the Rules of Golf.
What’s so special about them?
They can be used to give a player an extra relief option and, employed as a Local Rule, you’ll usually find them where there could be issues in using the normal relief options. You might find them in circumstances where there is interference from a wrong green, an abnormal course condition, when a ball is in a penalty area or is unplayable.
Most likely you’ve either encountered one when your ball has splashed into a penalty area, or you’ve seen them in a professional tournament when a ball has come up against a grandstand (otherwise known in the trade as a temporary immovable obstruction).
How is a drop zone used?
If you’re taking relief in a drop zone, you must drop the ball in, and have it come to rest, in that drop zone. No one club or two-club lengths here. Make sure that ball remains in the drop zone. It’s a relief area in the same way you’d encounter one under Rule 14.3.
If it is marked out with lines (as is usually the case) then the line is inside the drop zone. You don’t have to stand in the drop zone when dropping the ball.
How are they marked?
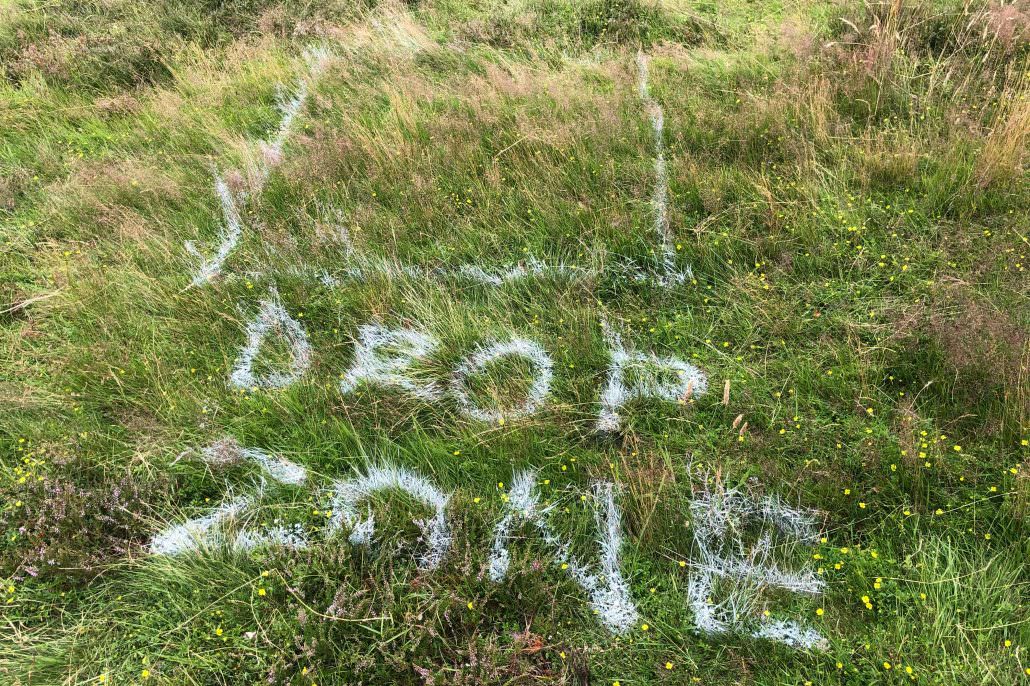
With painted lines, markers, stakes, and signs and in a variety of shapes too – such as a circle or a square. When it’s painted, you’ll often see the letters ‘DZ’ sprayed in the middle and letting players know exactly where they’re going.
How much action the drop zone is likely to get will probably determine its size but the committee procedures say it would normally have “about a one club radius or smaller”.